

Thinking about rooting your Android device? Unlocking the true potential of your smartphone or tablet can be incredibly enticing, offering access to advanced customization, performance enhancements, and a wealth of powerful apps. This comprehensive guide provides a safe and straightforward approach to rooting your Android device, outlining the necessary precautions, step-by-step instructions, and crucial information to ensure a smooth and successful rooting experience. Whether you’re looking to install custom ROMs, tweak system settings, or simply gain more control over your device, this guide is designed to equip you with the knowledge you need to confidently navigate the rooting process.
Rooting is often perceived as a risky procedure, but with the right approach and proper understanding, it can be performed safely and efficiently. This guide demystifies the rooting process, explaining the benefits, risks, and essential steps involved. From backing up your data to selecting the appropriate rooting method for your specific Android device, we’ll cover everything you need to know to root your device responsibly. By following the instructions carefully and understanding the implications of each action, you can confidently embark on your rooting journey and unlock the full potential of your Android device.
Understanding the Risks and Benefits of Rooting
Rooting your Android device grants you superuser access, effectively giving you complete control over the system. This control unlocks a world of possibilities but also introduces potential risks. It’s crucial to weigh these factors carefully before proceeding.
Benefits of Rooting
Rooting allows you to customize your device beyond the manufacturer’s limitations. This includes installing custom ROMs for enhanced features and performance, blocking unwanted ads system-wide, and removing pre-installed bloatware. You can also automate tasks and fine-tune system settings for optimal battery life and performance.
Risks of Rooting
Rooting can void your warranty and potentially brick your device if not done correctly. A bricked device is essentially unusable. Security risks also increase as a rooted device is more vulnerable to malware if proper precautions aren’t taken. It’s essential to follow a reliable guide and understand the process thoroughly before attempting to root your device.
Preparing Your Android Device for Rooting
Proper preparation is crucial for a successful and safe rooting experience. Before you begin, take the following steps:
1. Back Up Your Data
Rooting can sometimes lead to data loss. Back up everything important: contacts, photos, videos, apps, and app data. Use a reliable backup method, whether it’s through cloud services, your computer, or dedicated backup applications.
2. Charge Your Device
Ensure your device has a full charge or at least 60-80% battery. The rooting process can take time, and a power interruption could brick your device.
3. Enable USB Debugging
This allows your computer to communicate with your Android device in developer mode. You’ll typically find this option in the Developer options menu within your device’s settings. If Developer options are not visible, you may need to enable them by tapping the Build number repeatedly in the About Phone section.
4. Install Necessary Drivers
Your computer needs to recognize your Android device correctly. Install the appropriate USB drivers for your specific device model. These drivers can usually be found on the manufacturer’s website.
5. Research Your Device
Rooting methods vary between devices. Understanding your device’s specific model and Android version is essential for choosing the correct rooting method and avoiding potential problems.
Choosing the Right Rooting Method for Your Device
Selecting the appropriate rooting method is crucial for a successful and safe rooting experience. Different devices and Android versions require specific approaches. Using the wrong method can brick your device, so careful research is essential.
Factors influencing your choice include your device’s manufacturer, model number, and Android version. Researching these details will lead you to compatible and reliable rooting methods. XDA Developers Forum and similar communities are invaluable resources for finding device-specific instructions and support.
Common rooting methods include using one-click rooting tools, custom recovery images (like TWRP), and exploiting system vulnerabilities. One-click tools offer simplicity, while custom recovery provides more advanced options. Exploiting system vulnerabilities is generally more complex and carries higher risks.
Before proceeding, verify the chosen method’s compatibility with your specific device and Android version. Double-checking this information can prevent irreversible damage.
Step-by-Step Rooting Instructions: A Safe Approach
Please note: The following are generalized instructions. Specific steps will vary depending on your device and the chosen rooting method. Always consult a reputable guide specific to your device model.
Step 1: Back Up Your Data. This is the most crucial step. Rooting can sometimes erase data. Back up everything important.
Step 2: Enable USB Debugging. This allows your computer to communicate with your device in developer mode. You’ll typically find this in your device’s Developer Options.
Step 3: Unlock Your Bootloader (if necessary). This allows you to modify the system software. Instructions for this vary significantly between manufacturers.
Step 4: Download Necessary Files. This usually includes the rooting software and device-specific drivers.
Step 5: Connect Your Device to Your Computer. Use a reliable USB cable and ensure your computer recognizes your device.
Step 6: Run the Rooting Software. Carefully follow the instructions provided with the software. This is where the actual rooting process takes place.
Step 7: Verify Root Access. After the process completes, use a root checker app to confirm root access has been granted.
Troubleshooting Common Rooting Issues
Rooting, while offering significant advantages, can sometimes encounter issues. This section addresses common problems and provides potential solutions.
Device Not Recognized by Computer
If your computer doesn’t recognize your device after enabling USB debugging, try a different USB cable or port. Ensure the correct USB drivers for your device are installed on your computer. Sometimes, restarting both your computer and device can resolve the connection problem.
Rooting Process Freezes or Fails
A frozen or failed rooting process can be due to an incompatible rooting method, corrupted files, or insufficient battery power. Ensure your device is adequately charged before beginning. Verify you’re using the correct rooting method for your specific device model and Android version. If necessary, re-download the rooting files to ensure they’re not corrupted.
Boot Loop After Rooting
If your device enters a continuous boot loop after rooting, it’s often a sign of a problem during the process. Try booting into recovery mode (usually by holding a combination of volume and power buttons) and clearing the cache partition. If this doesn’t work, you might need to flash the original stock firmware for your device to restore it.
Maintaining and Optimizing Your Rooted Android Device
After successfully rooting your Android device, proper maintenance is crucial for optimal performance and security. Regularly updating your custom ROM and installed apps is essential for patching vulnerabilities and improving stability. Back up your data frequently, as rooted devices can be more susceptible to data loss if issues arise during customization or flashing processes.
Consider using a root-enabled app manager to control app permissions and prevent rogue apps from accessing sensitive information. These managers can also help you uninstall bloatware, freeing up valuable storage space and improving system performance.
Monitor battery usage closely. Rooting can sometimes impact battery life, particularly if certain powerful features are overused. Specialized apps can help identify battery-draining culprits and adjust settings for better power management.
Keep an eye on your device’s storage. Rooting often allows for greater control over storage usage, enabling you to move apps to your SD card and free up internal memory.
Essential Tips for Safe Rooting Practices
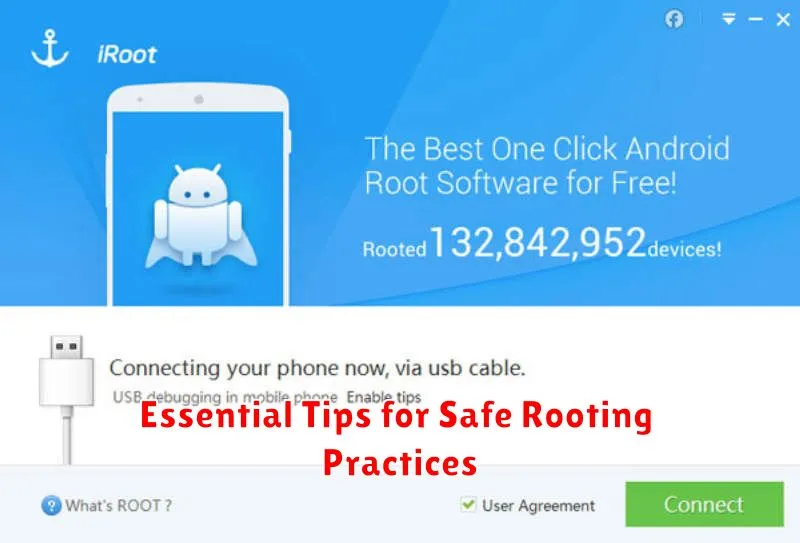
Rooting can provide significant benefits, but it’s crucial to approach the process with caution. Following these essential tips will minimize potential risks and ensure a smoother experience.
Thoroughly research your specific device model. Rooting methods vary, and using an incorrect procedure can brick your device. Consult reputable forums and communities dedicated to your specific Android phone or tablet.
Back up your data. Rooting can sometimes lead to data loss. Creating a complete backup before you begin is essential to safeguard your information.
Ensure your battery is fully charged. A power interruption during the rooting process can cause serious problems. A full charge minimizes this risk.
Download necessary software from trusted sources. Only download rooting tools and custom ROMs from reputable developers and websites. Avoid unofficial sources, as they may contain malware.
Verify checksums of downloaded files. This helps ensure the integrity of the downloaded files and that they haven’t been tampered with.
Understand the implications of rooting. Rooting can void your warranty and increase security vulnerabilities. Proceed only if you understand and accept these risks.
Unrooting Your Android Device: A Simple Guide
Unrooting your Android device essentially reverses the rooting process, returning it to its original, pre-rooted state. There are a few common reasons why you might choose to unroot your device. You may need to unroot to comply with certain app requirements, reinstate your device’s warranty, or prepare to sell or trade in your device.
The unrooting method depends on how you initially rooted your device. One of the most common methods involves using the SuperSU app. If you used this method, open the SuperSU app, navigate to the Settings tab, and look for the Full unroot option. Tap this option, confirm your choice, and reboot your device. This should completely remove root access.
Alternatively, if you rooted through flashing a custom recovery such as TWRP, you’ll likely need to flash the stock firmware for your specific device model. This process generally involves downloading the appropriate firmware file and flashing it through the custom recovery itself. Exercise caution when using this method and ensure you download the correct firmware to avoid bricking your device.
Finally, some devices offer an unroot option within their system settings. Check your device’s developer options or system updates for potential unrooting utilities provided by the manufacturer.