Tired of the same old font on your Android device? Do you crave a more personalized look and feel for your phone’s interface? This comprehensive guide will walk you through the process of changing fonts on your Android, offering various methods to suit different devices and preferences. Whether you’re looking for a sleek, modern font, a playful script, or something more classic, you’ll discover how to transform your Android experience with custom fonts. Learn how to personalize your Android and make it truly your own.
Personalizing your Android by changing fonts can significantly enhance your user experience. From system-wide font changes to app-specific adjustments, we’ll cover various techniques, including using launcher apps, exploring built-in settings, and utilizing dedicated font applications. This guide will provide clear, step-by-step instructions to help you navigate the process of selecting, installing, and applying your preferred fonts, allowing you to personalize your Android and achieve the desired aesthetic for your device.
Exploring Default Font Options on Android
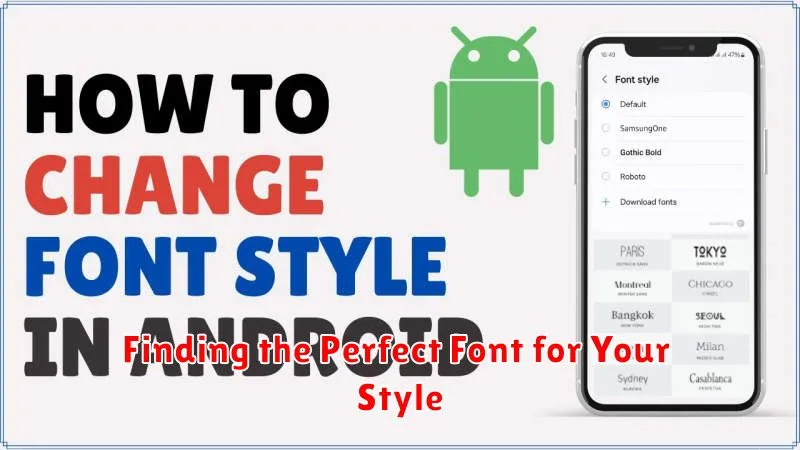
Before venturing into third-party font applications, it’s worthwhile to explore the built-in font options your Android device offers. Many manufacturers, recognizing the desire for personalization, include a selection of pre-installed fonts.
While the range of choices might vary depending on your device’s manufacturer and Android version, you can usually find these options within the Display or Accessibility settings. Look for entries labeled Font Style, Font Size, or similar. Some devices may even offer a preview of the fonts before applying them.
Changing the default font through these settings will typically affect the system’s overall typography, encompassing menus, app labels, and in some cases, even within certain applications.
Downloading and Installing Font Apps
If your Android device doesn’t offer a satisfactory selection of built-in fonts, exploring third-party font apps opens up a world of typographic possibilities. The Google Play Store hosts numerous apps dedicated to providing a diverse range of fonts.
Locating Font Apps: Simply search the Play Store using keywords like “fonts,” “font changer,” or “typography.”
Choosing the Right App: Pay attention to app ratings, reviews, and the number of downloads to gauge the quality and popularity of different options. Some apps offer free fonts while others operate on a subscription or one-time purchase model.
Installation Process: After selecting an app, the installation process typically follows the standard procedure for any Android app. Tap “Install,” grant the necessary permissions, and wait for the download and installation to complete. Specific instructions for applying the fonts within each app will vary, so be sure to consult the app’s documentation or help section.
Accessing System Settings for Font Changes
Many Android devices allow font changes directly through the system settings. This offers a system-wide change without needing additional apps. The availability and specific steps can vary based on your device’s manufacturer and Android version. However, the general process is often similar.
Typically, you begin by opening the Settings app. Look for a section related to Display or Appearance. Within this section, you might find an option labeled Font, Font Style, or Typography. Selecting this option will typically present you with a list of pre-installed fonts available on your device.
Some manufacturers offer more extensive customization options within the system settings. You might be able to adjust font size and even bold text options. These features provide greater control over the overall visual appearance of your device’s text.
Using Launcher Apps for Font Customization
Launcher apps offer a powerful way to personalize your Android experience, extending beyond just changing fonts. They essentially replace your home screen and app drawer with a custom interface, often including font customization options.
Many popular launchers, such as Nova Launcher, Action Launcher, and Microsoft Launcher, provide built-in settings for changing system fonts. This allows you to achieve a consistent look across your device without needing to modify system settings directly.
The process typically involves installing the launcher app, selecting it as your default launcher, and then navigating to the launcher’s appearance settings. Within these settings, you should find font options. Some launchers offer a curated selection of pre-installed fonts, while others allow you to choose fonts you’ve downloaded separately.
Keep in mind that launcher-based font changes usually only affect the home screen, app drawer, and supported launcher elements. Individual apps may not inherit these changes unless they specifically integrate with the launcher’s theming capabilities.
Changing Fonts for Specific Apps
While system-wide font changes offer a unified aesthetic, some users may prefer customizing fonts on a per-app basis. This granular control allows for a more personalized experience, tailoring the look and feel of individual apps to your preferences. Unfortunately, direct per-app font changing is not a standard Android feature. It often requires specific app support or utilizing third-party tools.
Some apps offer built-in font options within their settings. Consult the app’s help documentation or explore its settings menu to see if font customization is available. Look for options labeled “Font,” “Typography,” or “Appearance.” If such options exist, you can usually choose from a pre-selected list of fonts or, in some cases, even import your own.
If the specific app you wish to customize lacks built-in font options, exploring app-specific plugins or modules might provide a solution. Some advanced launchers or theming engines offer extensions that can override default app fonts. Researching communities dedicated to Android customization can reveal potential options for your target app.
Troubleshooting Font Installation Issues
Occasionally, you might encounter issues while trying to install new fonts on your Android device. This section offers solutions to common problems.
Font Not Supported
Compatibility is key. Some fonts are designed specifically for certain Android versions or device manufacturers. If a font refuses to install, it might be incompatible with your specific device. Double-check the font’s documentation for compatibility information.
Installation Errors
If you receive error messages during installation, ensure the font file is not corrupted. Try downloading the font again from a reputable source. Also, verify that you have sufficient storage space available on your device.
Font Not Applying
Sometimes, a successfully installed font may not appear in your system settings. Try restarting your device. This can often resolve minor software glitches that prevent the font from being recognized. If the issue persists, check if your device’s theme or launcher has specific font limitations.
Font Display Issues
If the installed font displays incorrectly, with missing characters or distorted glyphs, it might have encoding problems. Look for a different version of the font or try an alternative font altogether. Ensure the font is designed to support the characters and languages you use.
Finding the Perfect Font for Your Style

Choosing the right font significantly impacts the overall look and feel of your Android device. Readability is paramount; a stylish font is useless if it’s difficult to read. Consider the weight of the font. Lighter fonts can appear elegant, while bolder fonts project strength and confidence.
Serif fonts, with their decorative strokes, convey a classic, traditional aesthetic. Sans-serif fonts, lacking these embellishments, offer a cleaner, more modern appearance. Experiment to see which style best reflects your personal taste.
Think about the overall size of the font. If you prefer larger text for easier reading, factor that into your selection. Finally, consider the character set. Ensure the font supports the languages and characters you frequently use.
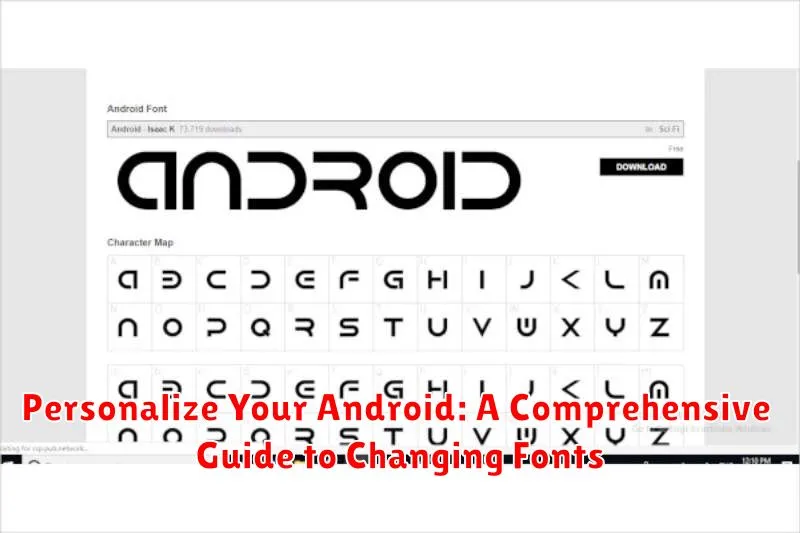
Exploring various font websites and apps will provide a vast array of options to choose from. Many offer previews, allowing you to visualize how different fonts will appear on your screen. Don’t be afraid to try out a few different styles before settling on the perfect one for your Android device.
Restoring Default Fonts

Reverting to your Android device’s original font settings is often a straightforward process. If a custom font isn’t working correctly, or you simply prefer the original look, restoring default fonts can resolve these issues. This section will guide you through the necessary steps.
The method for restoring default fonts may vary slightly depending on your device’s manufacturer and Android version. However, most devices follow a similar pattern. Typically, you’ll find the option within the Display or Font settings within your device’s Settings app. Look for options like Default Font or Reset Font.
Some launchers or theming apps might offer their own font settings. If you’ve used such an app to change your font, check its settings to revert to the system default. This often involves selecting an option labeled “System Default” or similar.
After restoring the default font, you may need to restart your device for the changes to fully take effect.

